Delicata Squash – I’m in Heaven!

Delicata Squash

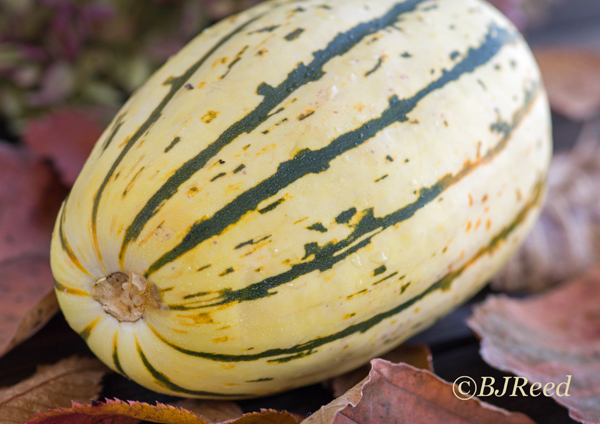
Fresh Winter squash are showing their faces at farmer’s markets, vegetable stands and grocery stores in the area. It’s that time of year. I’m in heaven – Delicata Squash!  Just to hold them in the palm of my hand is exciting, just my size. This gem  is characterized by a cream colored delicate rind with green stripes.

There are so many  varieties of winter squash to pick from, but, so far, Delicata has become my overall favorite!  Why, you ask? Well let’s see:  Foremost, they are so easy to prepare, my favorite method is roasting; you can eat the “delicate” skin, no peeling, yipee; when roasting they become caramelized, so creamy and naturally sweet but not too sweet; they have a somewhat nutty flavor too; perfect size for a single serving (about 6-7 inches long) and they fit perfectly into my energy-efficient toaster oven; the green striped skin is just beautiful, with golden-orange colored flesh; this delicate squash could easily be eaten as a dessert, it’s that tasty…need I say more. 
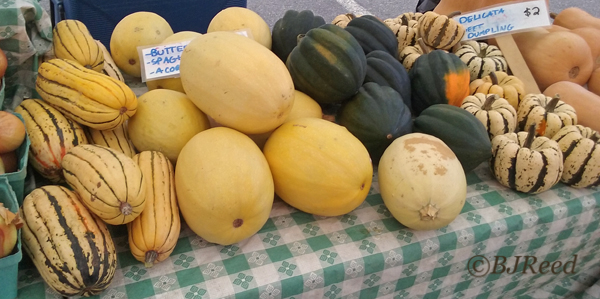
Various Winter Squash at the Market
Various Winter Squash at the Market- DELICATA on the far left.

Now don’t get me wrong, I love many types of winter squash, they each have their own attributes and purposes. But today it’s time to roast a Delicata. Perhaps another day I’ll cover other preparation methods. 

I’m going to use it as a single serving for my lunch. So here’s the simple roasting process for a Delicata Squash:

  1. Preheat toaster oven for 5 minutes 395 degrees Fahrenheit
  2. Scrub squash
  3. Place parchment paper on the oven tray
  4. Place Delicata squash on the parchment paper
  5. Roast for 20-25 minutes or to your liking, turn mid-way. (I love to eat the brown crusty portion of the roasted skin.)
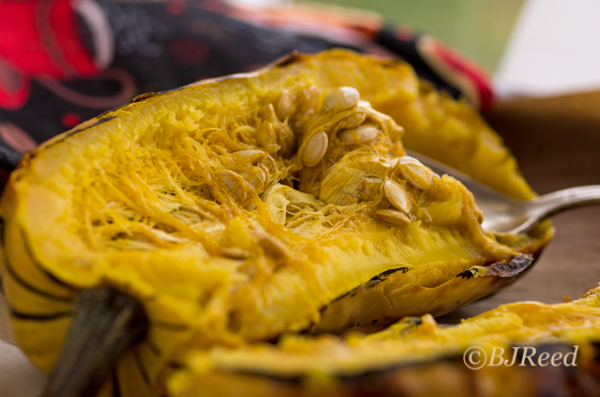
  6. Cool, cut in half, scoop out seeds and stringy flesh (seeds can be roasted too but that’s another post)
  7. That’s it, eat flesh and skin – DELICIOUS
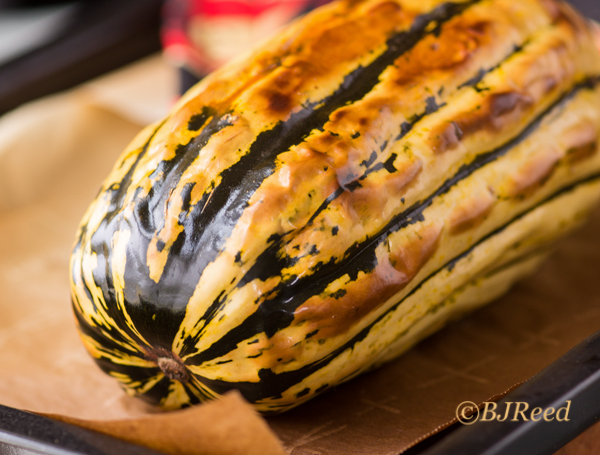
 

Roasted Delicata
Roasted Delicata
Delicata Squash - cut in half after roasting
Delicata Squash – cut in half after roasting
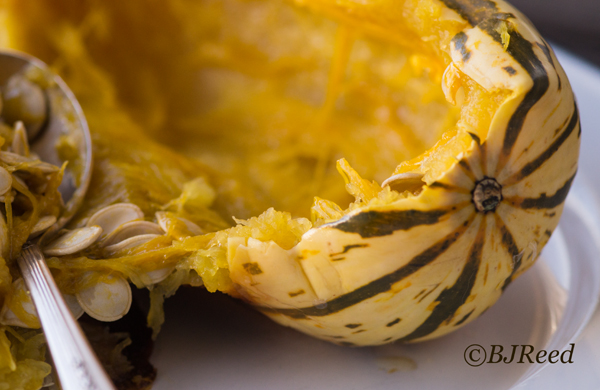
Scoop out seeds
Scoop out seeds
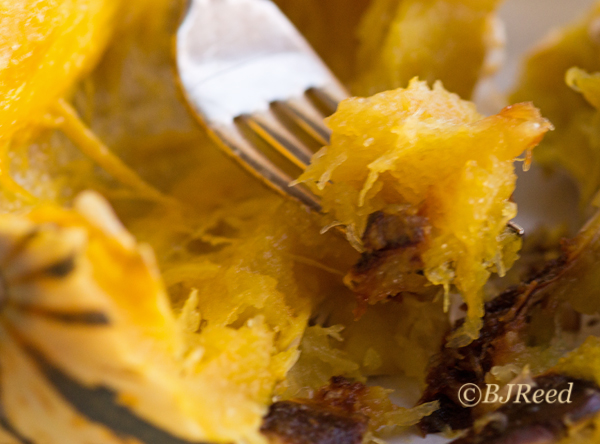
Eat flesh and skin of the Delicata Squash

Pennsylvania Apples

PA Apples

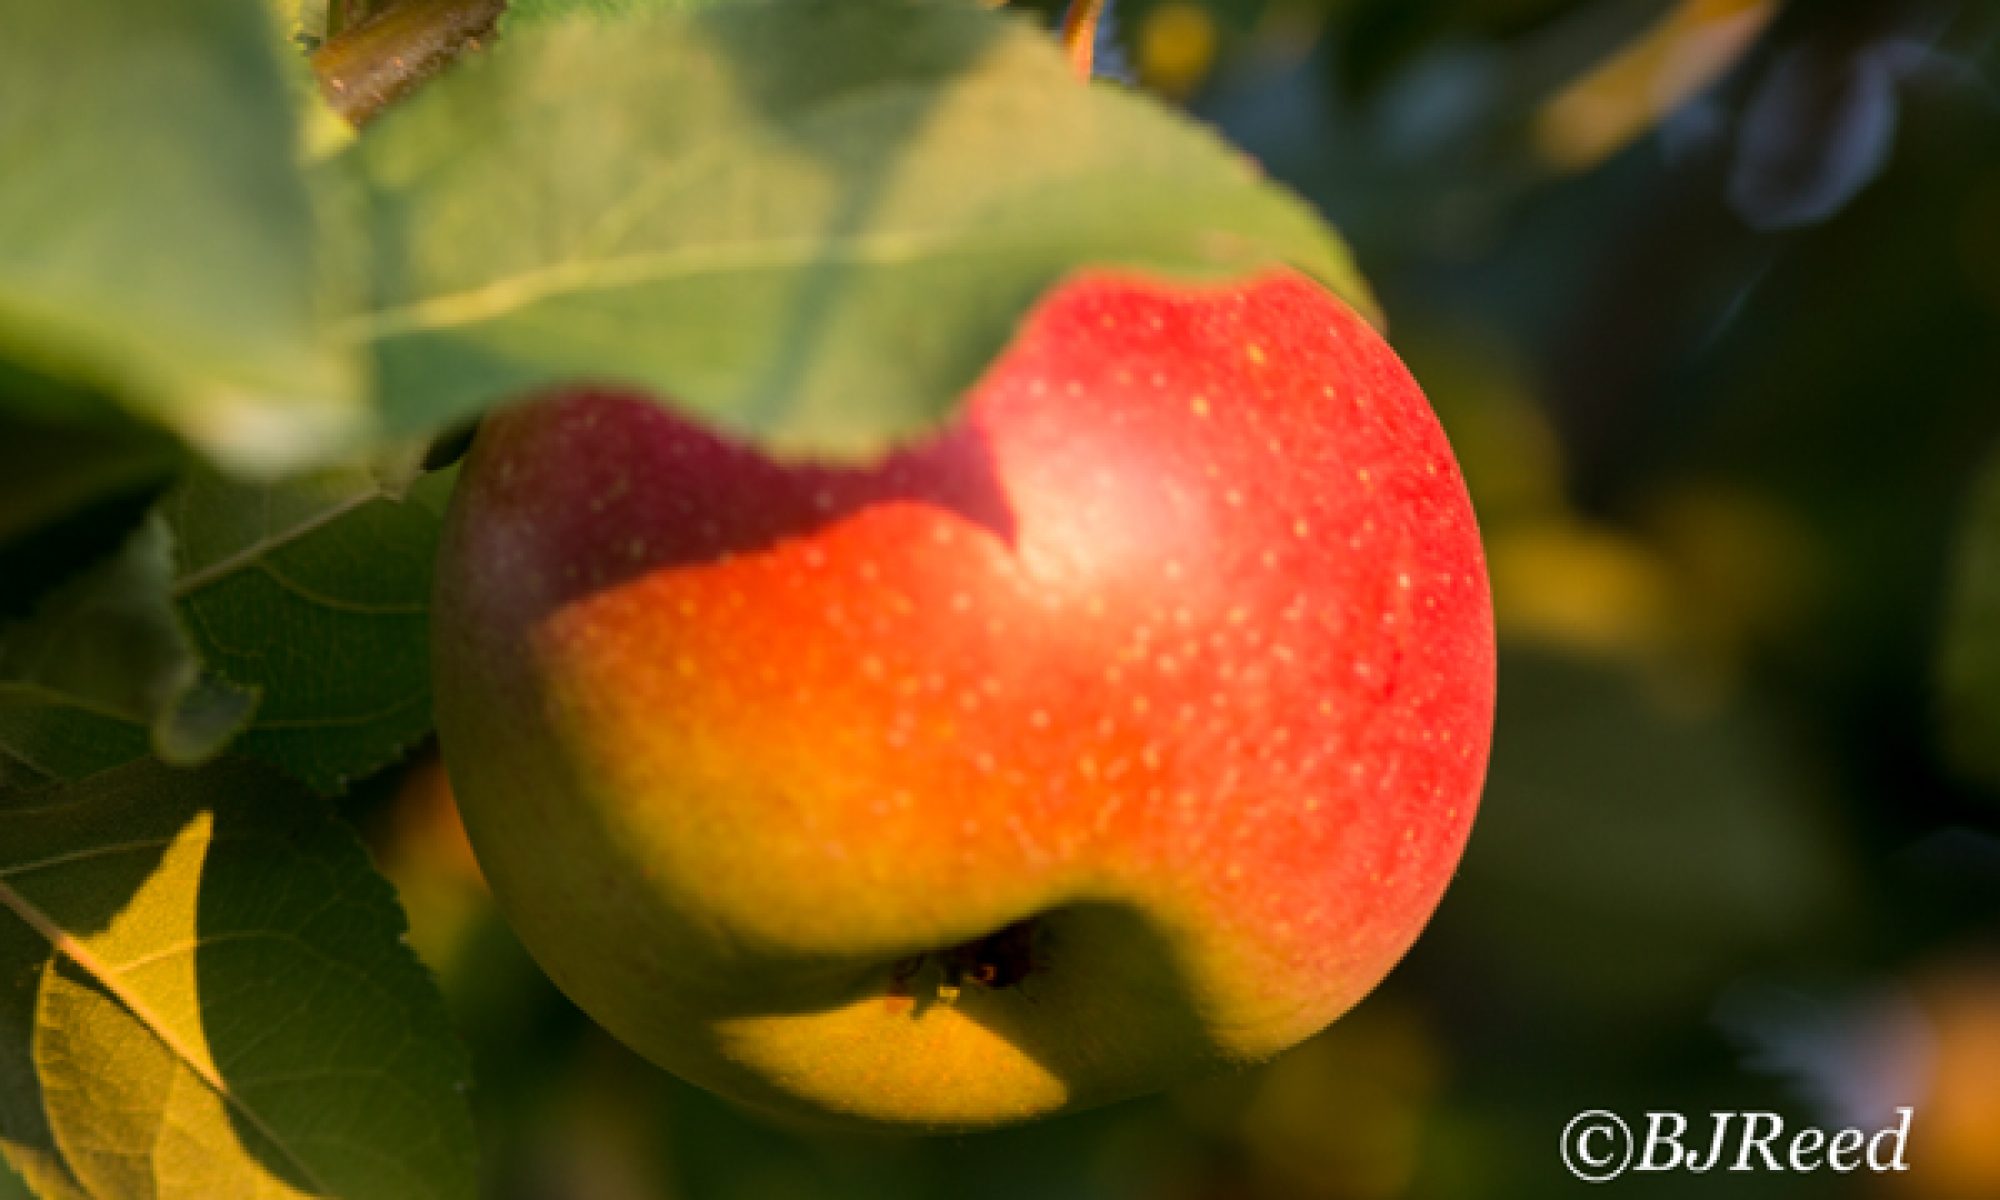
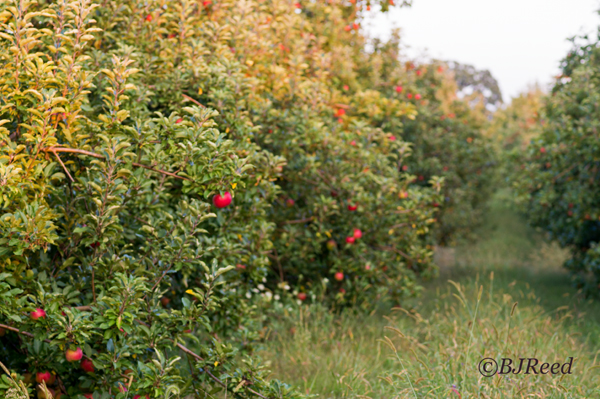
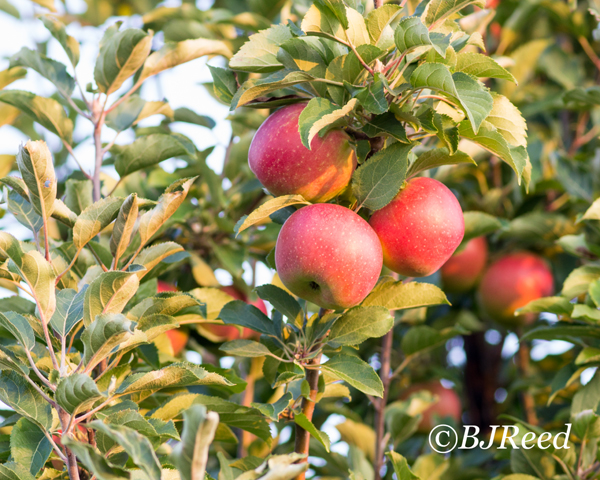
FALL is in the air, that means Pennsylvania APPLES! Did you know that PA is the 4th leading state in the United States which produces APPLES? Furthermore, Franklin County is the 2nd top producer of apples in PA (after Adams County). Aren’t we lucky to live in this fertile valley and have fresh fruit available many months of the year! Beautiful orchards lined with rows of apple trees grace the landscape.

Rows of PA Apples
Rows of PA Apples
Beautiful PA Fall APPLES

Apples are raised to use for the fresh market as well as for processed products. For us Pennsylvanians, fresh locally grown apples can be found in September and into the winter months.


HOW TO MAKE APPLESAUCE IN A CROCK POT.
Many varieties of apples are available…today we will be making applesauce with Golden Delicious, McIntosh and Cortland. But use any variety which satisfies your taste buds. I like to mix one sweet type apple, like Golden Delicious, with various other apples to give the applesauce more complexity. Of course there are a variety of methods to cook apples but the day the video was shot I had purchased a number of bags of seconds so I used a large slow-cooker (crock pot) to cook up a batch of applesauce.

Directions to cook applesauce in a crock pot:

  • Scrub, quarter and core apples (I do not peel to retain more nutritional value and I don’t mind if the applesauce is not totally smooth; but, if you wish, peel to make silky smooth applesauce.)
  • Cut into similar sized chunks, place in the pot, do not add water (add spices is you wish)
  • Cook for 4 or more hours on slow. (To make apple butter, it takes 10 hours or longer.)
  • When the apples are breaking up and have a mushy texture, it’s time to blend with an immersion blender to make applesauce.

Watch the video to see how easy it is to make and freeze applesauce to have fresh eating all year round. The video is a few years old but I still use this method. ENJOY!

Roasting Chick Peas

Roasting Chick Peas

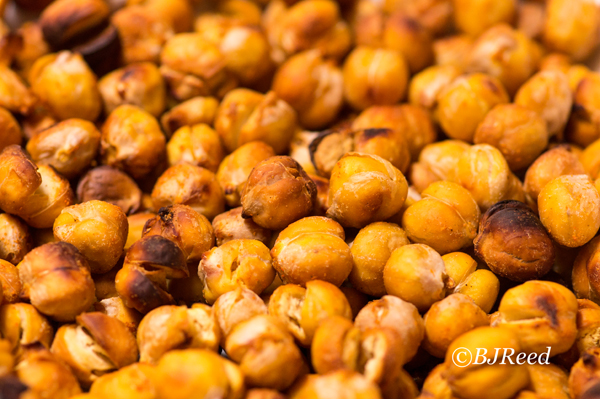
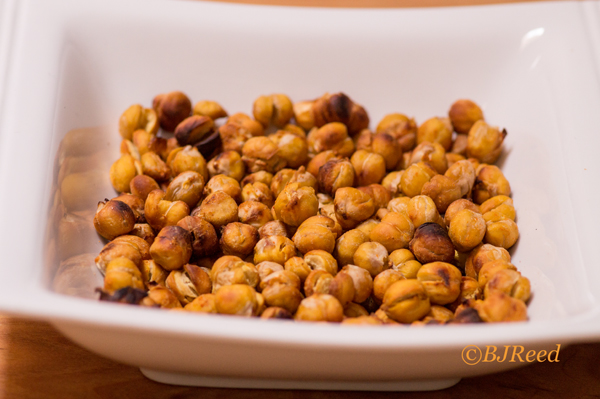
We LOVE to snack on roasted low sodium CHICK PEAS (garbanzo beans)! Nice and crunchy like nuts without all the calories. Our toaster oven makes roasting so easy, quick and energy efficient too.

[A spin off is that we always have aqua faba (brine from chick peas) on hand to use as a leavening agent in baked goods…it keeps well in the refrigerator for about a week or freeze extra.] 

Roasted Chick Peas
Roasted Chick Peas

The process for roasting Chick Peas is simple:

  • Just pre-heat your toaster oven 400 degrees Fahrenheit for 5 minutes or roast in your regular oven.
  • Take a can of low sodium chick peas and save off the aqua faba (brine) to use as an ingredient in baked goods.
  • Do not rinse the chick peas, place them in a single layer on the roasting tray lined with parchment paper.
  • Sprinkle on your favorite seasoning, we like garlic and cayenne pepper.
  • Roast for 20-25 minutes, turning mid-way. That’s it!

A downside is that they are so good that we gobble up the roasted Chick Peas in a hurry and have to made more! ENJOY!!

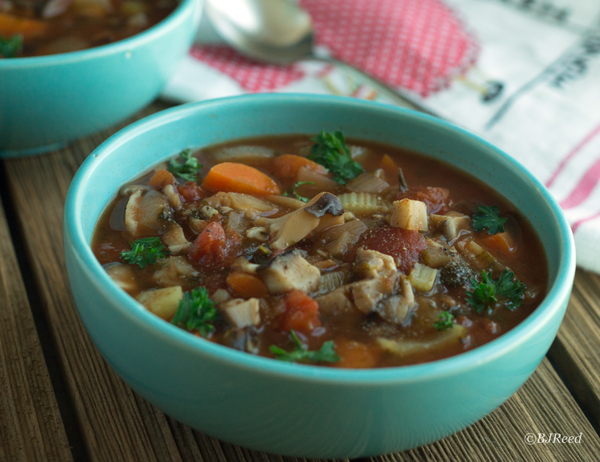
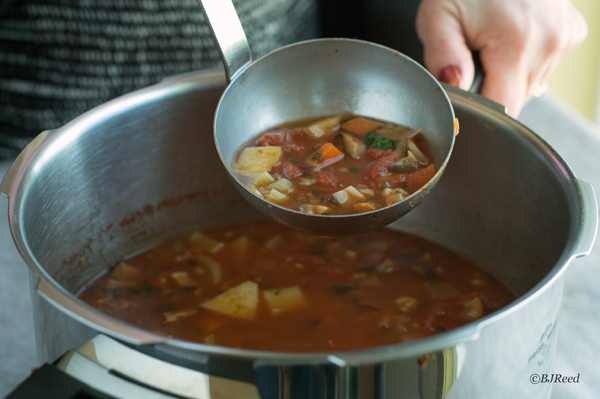
Manhattan no-clam Chowder

Manhattan no-clam Chowder

Here’s a great comfort food, the blended flavors and textures will satisfy your taste buds! Get back to Mother Nature with this whole food, plant-based soup. You will be surprised to see how Shiitake mushrooms chopped have a wonderful look and texture – who knew? You will be asking for seconds and thirds and check out the wonderful nutritional value!

Serves: 6 – 

  • 2 cups water
  • 1 tablespoon garlic minced
  • 1 onion, diced
  • 2 carrots, diced
  • 2 stalks celery, sliced
  • 2 potatoes, diced with skin
  • 8 ounces Shiitake mushrooms, diced
  • 1 tablespoon parsley
  • 1/4 teaspoon cayenne pepper
  • 1/2 teaspoon dried savory
  • 1/2 teaspoon paprika
  • 3 tablespoons nutritional yeast
  • 2 tablespoons tomato paste
  • 1 teaspoon oregano
  • 1 bay leaf
  • 1/2 teaspoon thyme
  • 1/2 lemon, juice
  • 1 1/2 sheets nori roasted seaweed, crumble
  • 1 (28 1/2-ounce) can crushed Italian plum tomato
  • 1/2 cup dry sherry

(Pressure Cooker directions below but can easily be adapted to cooking on the stove top.)

Prepare all vegetables. Shiitake mushrooms chopped have the same look and texture as clams.

Place all ingredients, except sherry, in the pressure cooker. Cook on medium pressure for 4 minutes. Take cooker off the hot burned, let it set for 10 minutes then quick release the pressure. After pressure is released, add sherry to chowder, stir. Serve warm.

NUTRITION FACTS
Amount per Serving,Calories 161,Calories From Fat 4,Total Fat 1g,Saturated Fat 0g,Cholesterol 0mg,Sodium 64mg,Total Carbohydrate 27g,Dietary Fiber 7g,Sugars 5g,Protein 7g

Manhattan no-clam Chowder

Roasting Carrots in My Toaster Oven

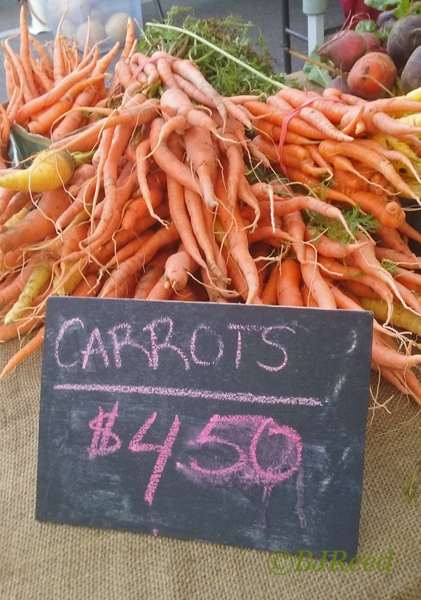
Carrots at Market

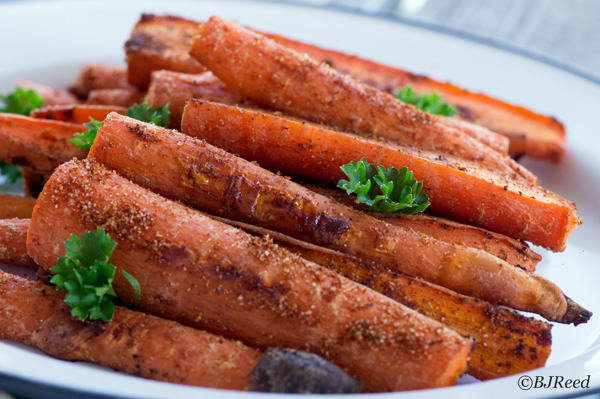
Roasting CARROTS from the farmer’s market or fresh from your garden makes a nutrient filled tasty dish. On the other hand, organic carrots from the grocery store are wonderfully tasting too and available year round. It is so quick and easy to roast small quantities of vegetables in my small toaster oven. It is such an energy saver especially during hot weather when you don’t want to heat up your kitchen by using your regular oven. Use your own favorite spices. Boy do they taste terrific, it’s hard to save them as a side dish for a meal, I just want to eat them straight from the oven! 

Roasted Carrots
Roasted Carrots

Serves: 3 || Prep Time: 15 minutes || Cook Time: 20 minutes

  • 6 – 8 medium carrots
  • 1 tablespoon balsamic vinegar
  • 1/2 teaspoon garlic powder
  • 1/2 teaspoon cumin
  • 1/2 teaspoon paprika

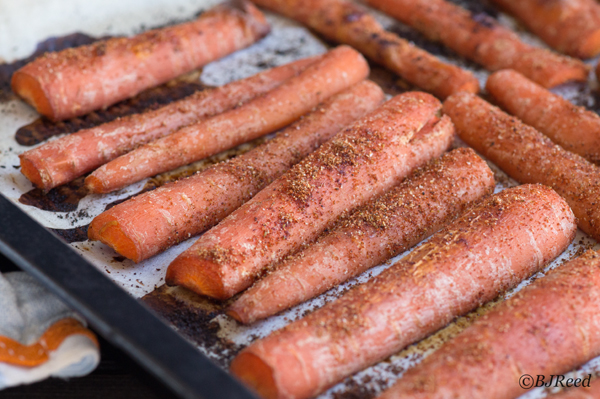
Preheat your toaster oven 400°F for 5 minutes (can be roasted in regular oven too). Cut carrots lengthwise, then cut in half again or to make thickness of pieces similar. Place cut carrots in a medium sized bowl; add 1 tablespoon balsamic vinegar or enough to coat; stir until all carrots are coated. Line the baking pan in the toaster with parchment paper; place carrots on the paper. Mix spices together then sprinkle half the spice mixture on the carrots. Place in the preheated toaster oven and roast for 10 minutes. Remove pan from oven, turn carrots over then sprinkle with remaining spice mix. Roast for another 10 minutes. It’s that easy!

Roasting Carrots
Roasting Carrots

Nutrition Facts:
Calories 124  Calories from Fat 1, Total Fat 0g, Saturated Fat 0g, Cholesterol 0mg, Sodium 96mg, Total Carbohydrate 29g, Fiber 8g, Sugars 1g, Protein 3g


We love roasted carrots…well any veggie roasted! So give it a try – let me hear how it worked for you!


Potatoes in a Crock Pot

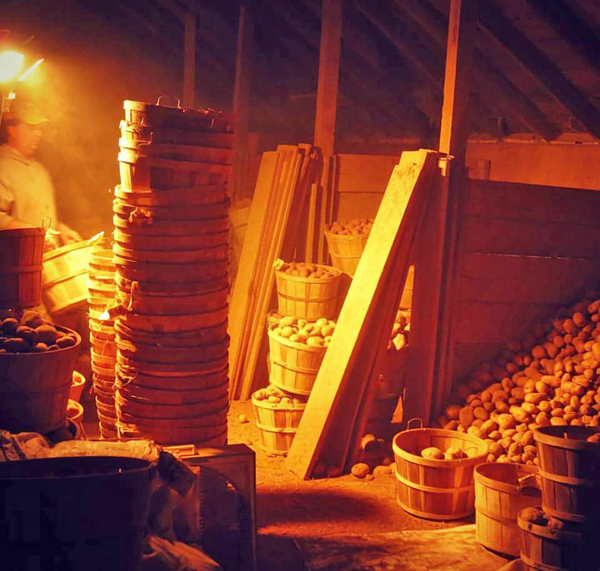
Gleaning Potatoes

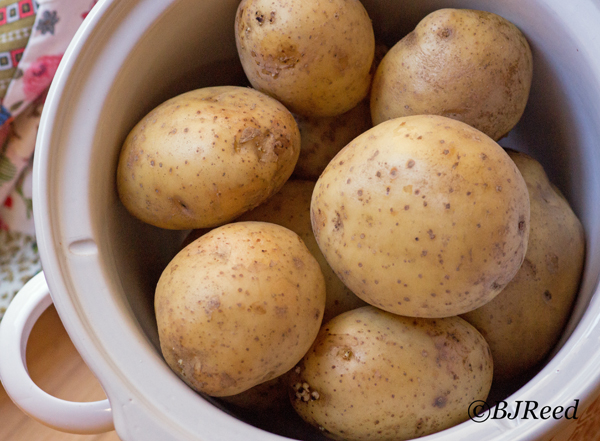
POTATOES, POTATOES, POTATOES! We’re always searching for methods to prepare vegetables that is quick and easy…potatoes cooked in a Crock Pot fits this bill perfectly.  At frequently cook a batch of various potatoes – our favorites and the most nutritious are yellows, sweets and reds. You can mix and match, just be aware, each one takes a different amounts of time to cook. 

Potatoes in a Crock Pot


You can make these in the evenings or on weekends, let the slow cooker do the job. This technique is very simple, just scrub potatoes and put them into the pot (no need to pierce or add water). Fill, cover and slow cook on low for between 4-6 hours. That’s all there is to it.

Now you have a batch to use for a potato bar or snacks. Store the extras in a bowl in the refrigerator…yum, just waiting for anyone who wants a healthy snack to grab it on their way out or as an evening snack. In particular, we love our potatoes plated on leafy greens and topped with specialty mustards. An additional benefit of using a Crock Pot, especially in the summer, is to save the environment,  it’s an energy saver and keeps the kitchen from getting hot. 

See we told you eating whole food, plant-based can be simple! 


Coconut Almond Chocolate Chip Cookies

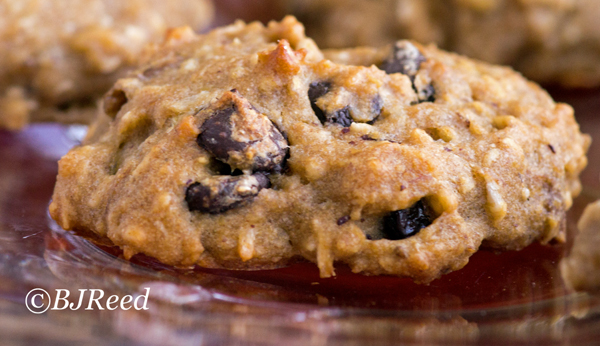
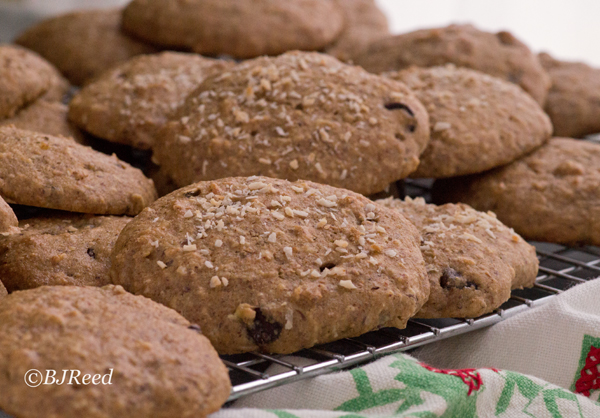
Coconut Almond Butter Chocolate Chip Cookies

Yummy gems for a special chocolate chip cookie treat! Who doesn’t love a soft chewy chocolate chip cookie with a low calorie count, natural sweetener and no oil. It’s hard not to eat them all right out of the oven…save a few for later!

Coconut Almond Butter Chocolate Chip Cookies
Serves: 24 (2” cookies); Bake 12-14 minutes.
1/4 cup date syrup or maple syrup
1 medium banana, mashed
3 T. aquafaba (chickpea brine)
1 t. vanilla extract
1/2 lemon (juice and 1 T. grated peel)
1/2 cup water plus 1 T.
1/3 cup Almond Butter or Peanut Butter
1 1/4 cups whole wheat pastry flour
1/2 cup coconut reduced-fat shredded flakes
2 T. flaxseed meal
1/2 t. baking soda
1/4 t. salt
1/4- 1/2 cup semi-sweet chocolate chips 

Preheat oven 350F. Prepare and combine all liquid ingredients. Place dry ingredients in mixing bowl (except choc chips), mix. Pour liquid ingredients into dry, blend. Fold in chips. Cover a baking sheet with Silpat or parchment paper, spoon batter onto it. Bake 12-14 minutes.

Nutritional Facts:   Amount per Serving, Calories 103, Calories From Fat 40, Total Fat 6g, Sodium 51mg, Total Carbs 13g, Dietary Fiber 2g, Sugars 6g, Protein 2g 


How-to Make Cantaloupe Banana Ice Cream

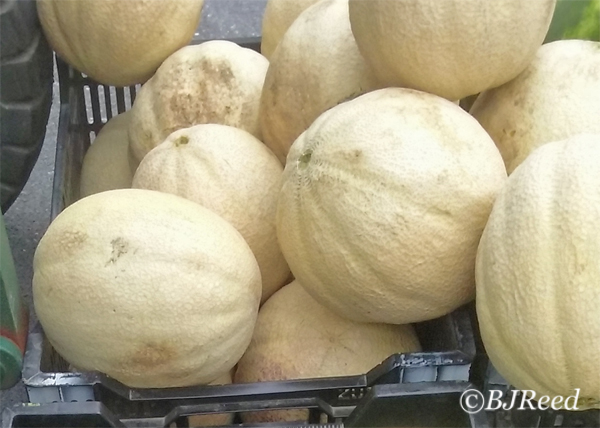
Cantaloupes at the Market

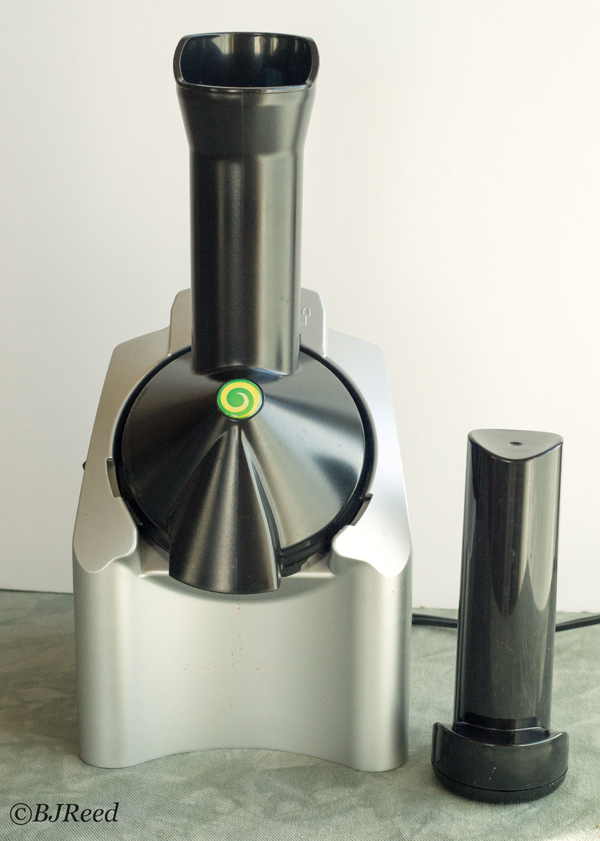
A nice cool refreshing dessert made from frozen fruit, including bananas and fruits of your choice, is easy to make with another toy that we own – Yonanas. But don’t fear, if you don’t own one, you can do the same by using a strong blender.

Yonanas
Yonanas

No dairy or added sugar but all the wonderful nutrients makes this a super healthy treat. Plant-based ice cream can be made anytime of the year but it is especially pleasurable during the summer.

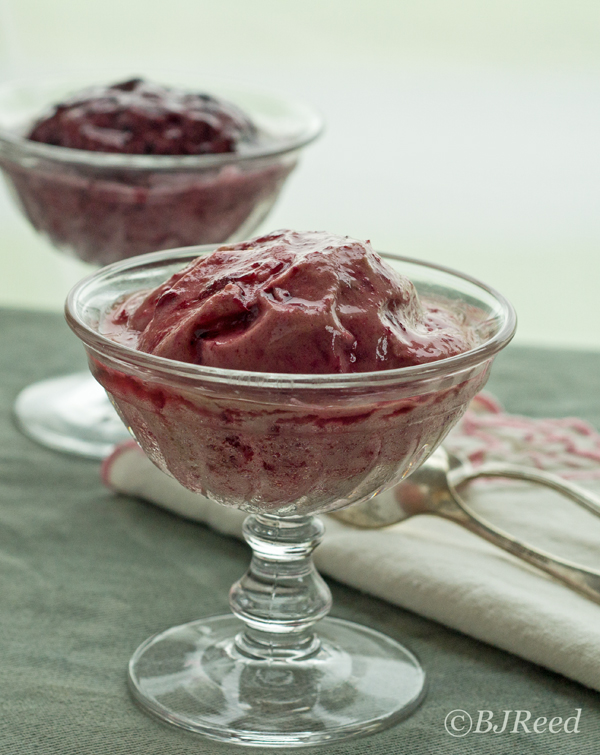
Ice Cream Made with Bananas and Blueberries
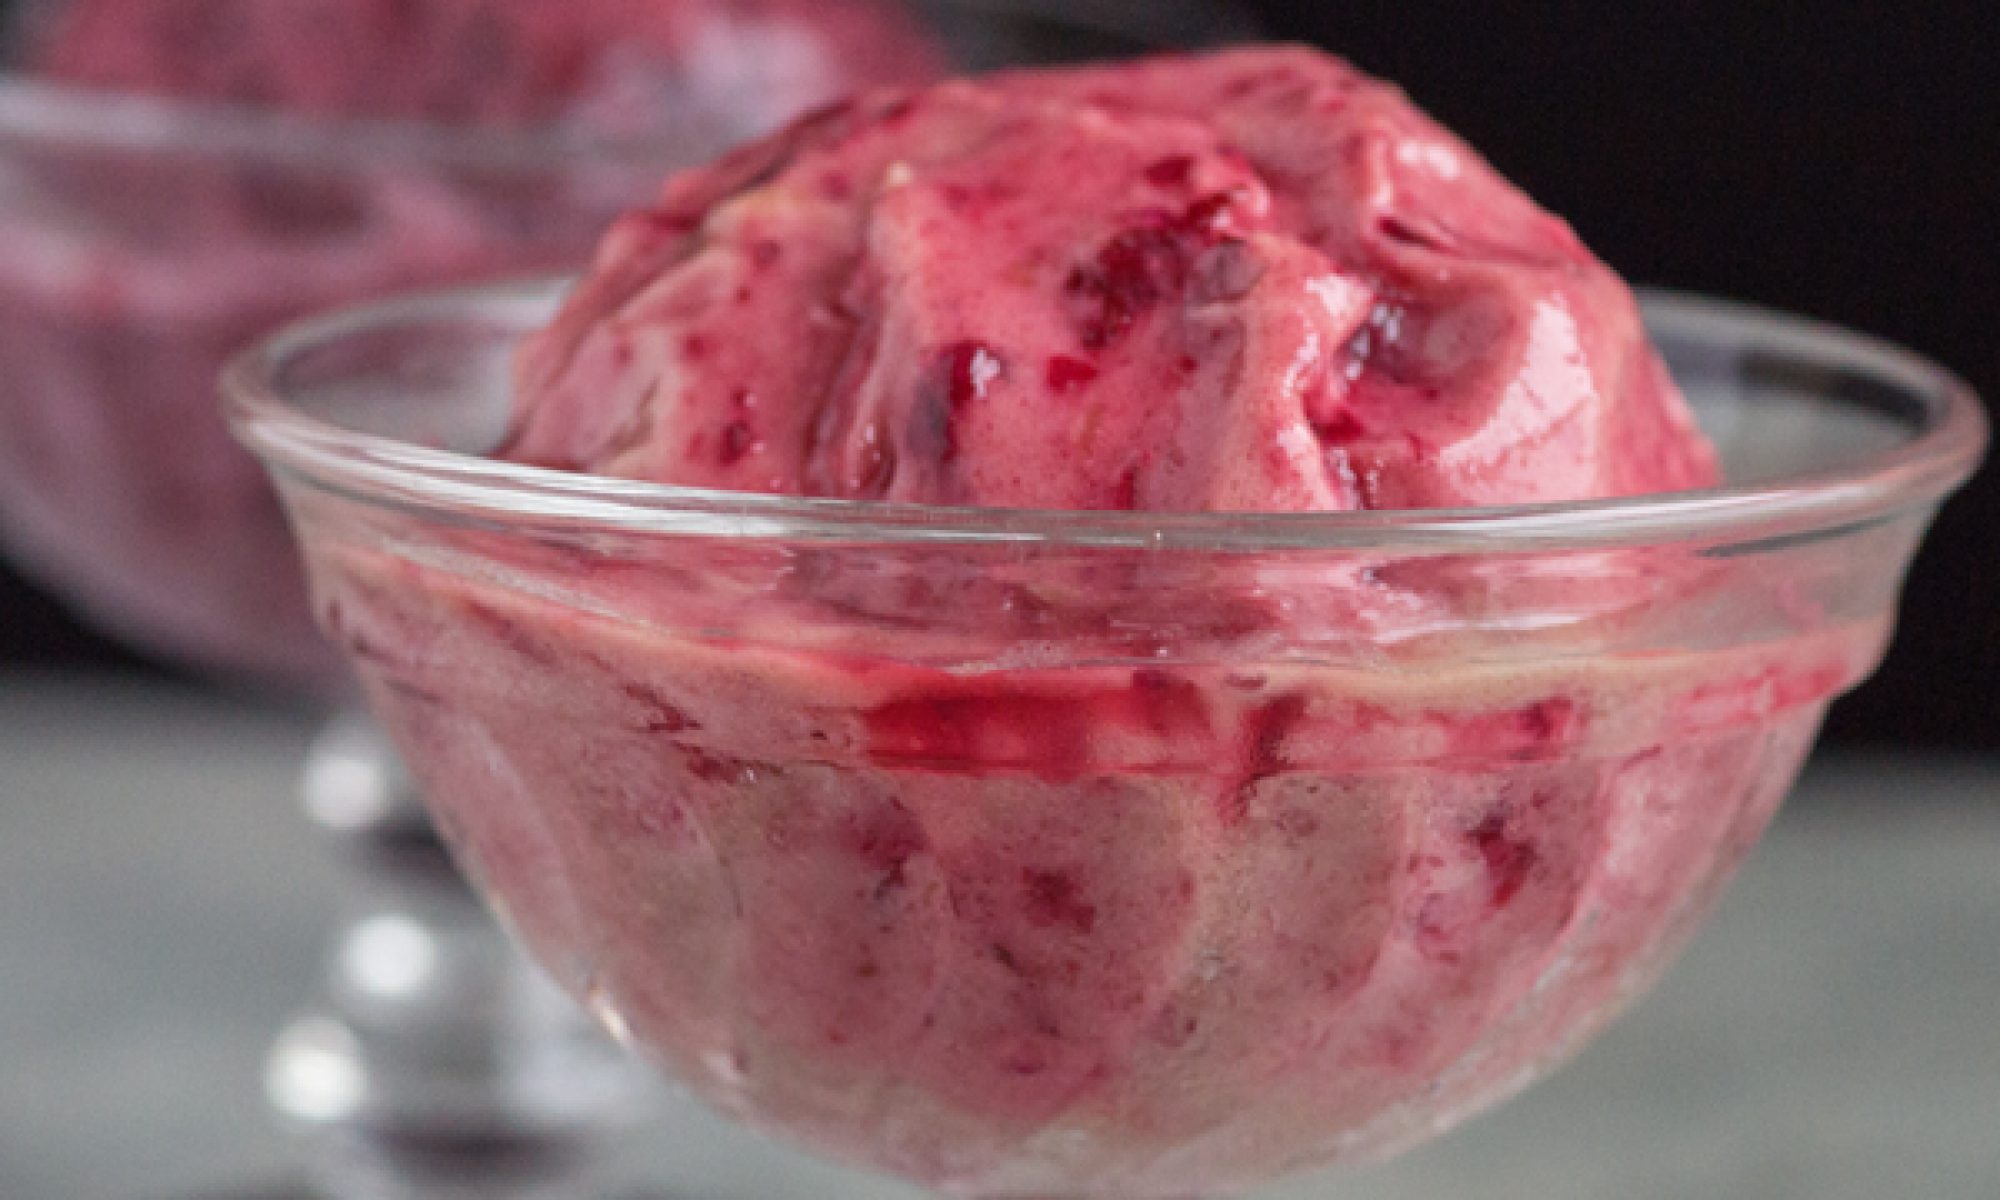
Cherry Banana Ice Cream
Ice Cream Made with Bananas and Cherries

The other day I noticed that our cantaloupe was getting ripe faster than we could eat it. We’re aware of food waste and try our best to eat what we purchase or grow. So what to do with those fast ripening fruits, well easy, just freeze them, especially bananas and, in this case, half of that cantaloupe. I’m curious about how yummy this ice cream will taste. First time try but I think it will be perfect with cantaloupe’s natural sweetness!

You can see from my food photography that I’ve made ice cream from bananas and blueberries and cherries. Try strawberries, peaches, mangoes, raspberries…how about watermelon. Remember to throw over-ripe or excess bananas and fruit in the freezer – make an ice cream treat later! Top with nuts and add chocolate chips too. Delicious. Waste NOT!